A night skincare routine can make a significant difference in maintaining skin hydration and smoothness. This article focuses on creating a DIY night cream for smooth, hydrated skin using accessible ingredients and explains how to incorporate it into a consistent overnight cream routine. These methods aim to restore and support your skin’s natural barrier overnight, without adding unnecessary complexity to your regimen.
Why Use a Night Cream?
Nighttime offers the skin an opportunity to recover from daily stressors. Unlike daytime moisturizers that often contain SPF and are designed to protect against external factors, night creams focus on repair and hydration.
The Role of a Night Cream
A night cream typically has a thicker texture and is formulated to nourish and support the skin barrier during sleep. It helps in:
- Retaining moisture in the skin
- Supporting overnight cell regeneration
- Reducing dryness and improving skin texture

Understanding Your Skin Type Before Creating a DIY Night Cream
Before you make your own DIY night cream for smooth, hydrated skin, it’s important to assess your skin type. Each type benefits from different ingredients.
Skin Type Breakdown
- Dry Skin: Needs deeply hydrating and emollient ingredients like shea butter, avocado oil, and ceramides.
- Oily Skin: Benefits from lighter oils such as jojoba or grapeseed and non-comedogenic ingredients.
- Combination Skin: A balanced formula with humectants (like glycerin) and lightweight oils can help.
- Sensitive Skin: Requires soothing agents like aloe vera and calendula, and should avoid fragrances or strong essential oils.
Ingredients for a DIY Night Cream
A well-formulated DIY night cream should contain ingredients that hydrate, nourish, and support skin renewal.
Base Ingredients
These form the structure of the night cream:
- Shea Butter: Rich in fatty acids; improves softness and elasticity.
- Coconut Oil: Moisturizing and has a mild antibacterial property. Best used in small amounts for those prone to breakouts.
- Aloe Vera Gel: Soothes irritation and adds light hydration.
- Beeswax (optional): Adds thickness and locks in moisture.
Hydrators and Humectants
- Glycerin: Attracts water to the skin, helping it stay moisturized.
- Hyaluronic Acid (plant-based or low molecular weight): Delivers deep hydration without heaviness.
Oils for Additional Benefits
- Jojoba Oil: Closely resembles skin’s natural sebum.
- Sweet Almond Oil: Lightweight and rich in vitamin E.
- Argan Oil: Contains antioxidants and improves texture.
Additions for Skin Support
- Vitamin E Oil: Helps preserve the cream and offers antioxidant benefits.
- Essential Oils (optional and in small quantities): Lavender or chamomile oil may offer calming effects.
How to Make a DIY Night Cream for Smooth, Hydrated Skin
Step-by-Step Recipe
Ingredients:
- 2 tablespoons shea butter
- 1 tablespoon coconut oil
- 1 tablespoon jojoba oil
- 1 teaspoon aloe vera gel
- 1 teaspoon glycerin
- 2 drops vitamin E oil
- (Optional) 1-2 drops lavender essential oil
Instructions:
- In a double boiler, gently melt the shea butter and coconut oil together.
- Once melted, remove from heat and add jojoba oil and aloe vera gel. Stir well.
- Add glycerin and vitamin E oil.
- If using essential oils, add them now.
- Allow the mixture to cool slightly, then whisk until creamy.
- Transfer into a clean jar with a tight lid. Store in a cool, dry place.

Building an Effective Overnight Cream Routine
Creating a DIY product is only half the process. Using it correctly in an overnight cream routine ensures consistent results.
Cleanse Before Application
Always begin your nighttime routine with a gentle cleanser. This removes makeup, sunscreen, and environmental debris, allowing the night cream to absorb properly.
Apply Toner or Hydrating Mist (Optional)
A light mist or toner can prep the skin and help lock in moisture when followed by your night cream.
Use a Serum (Optional Based on Skin Needs)
Depending on your skincare goals, you might apply a hydrating or treatment serum. Let it absorb fully before applying your DIY night cream.
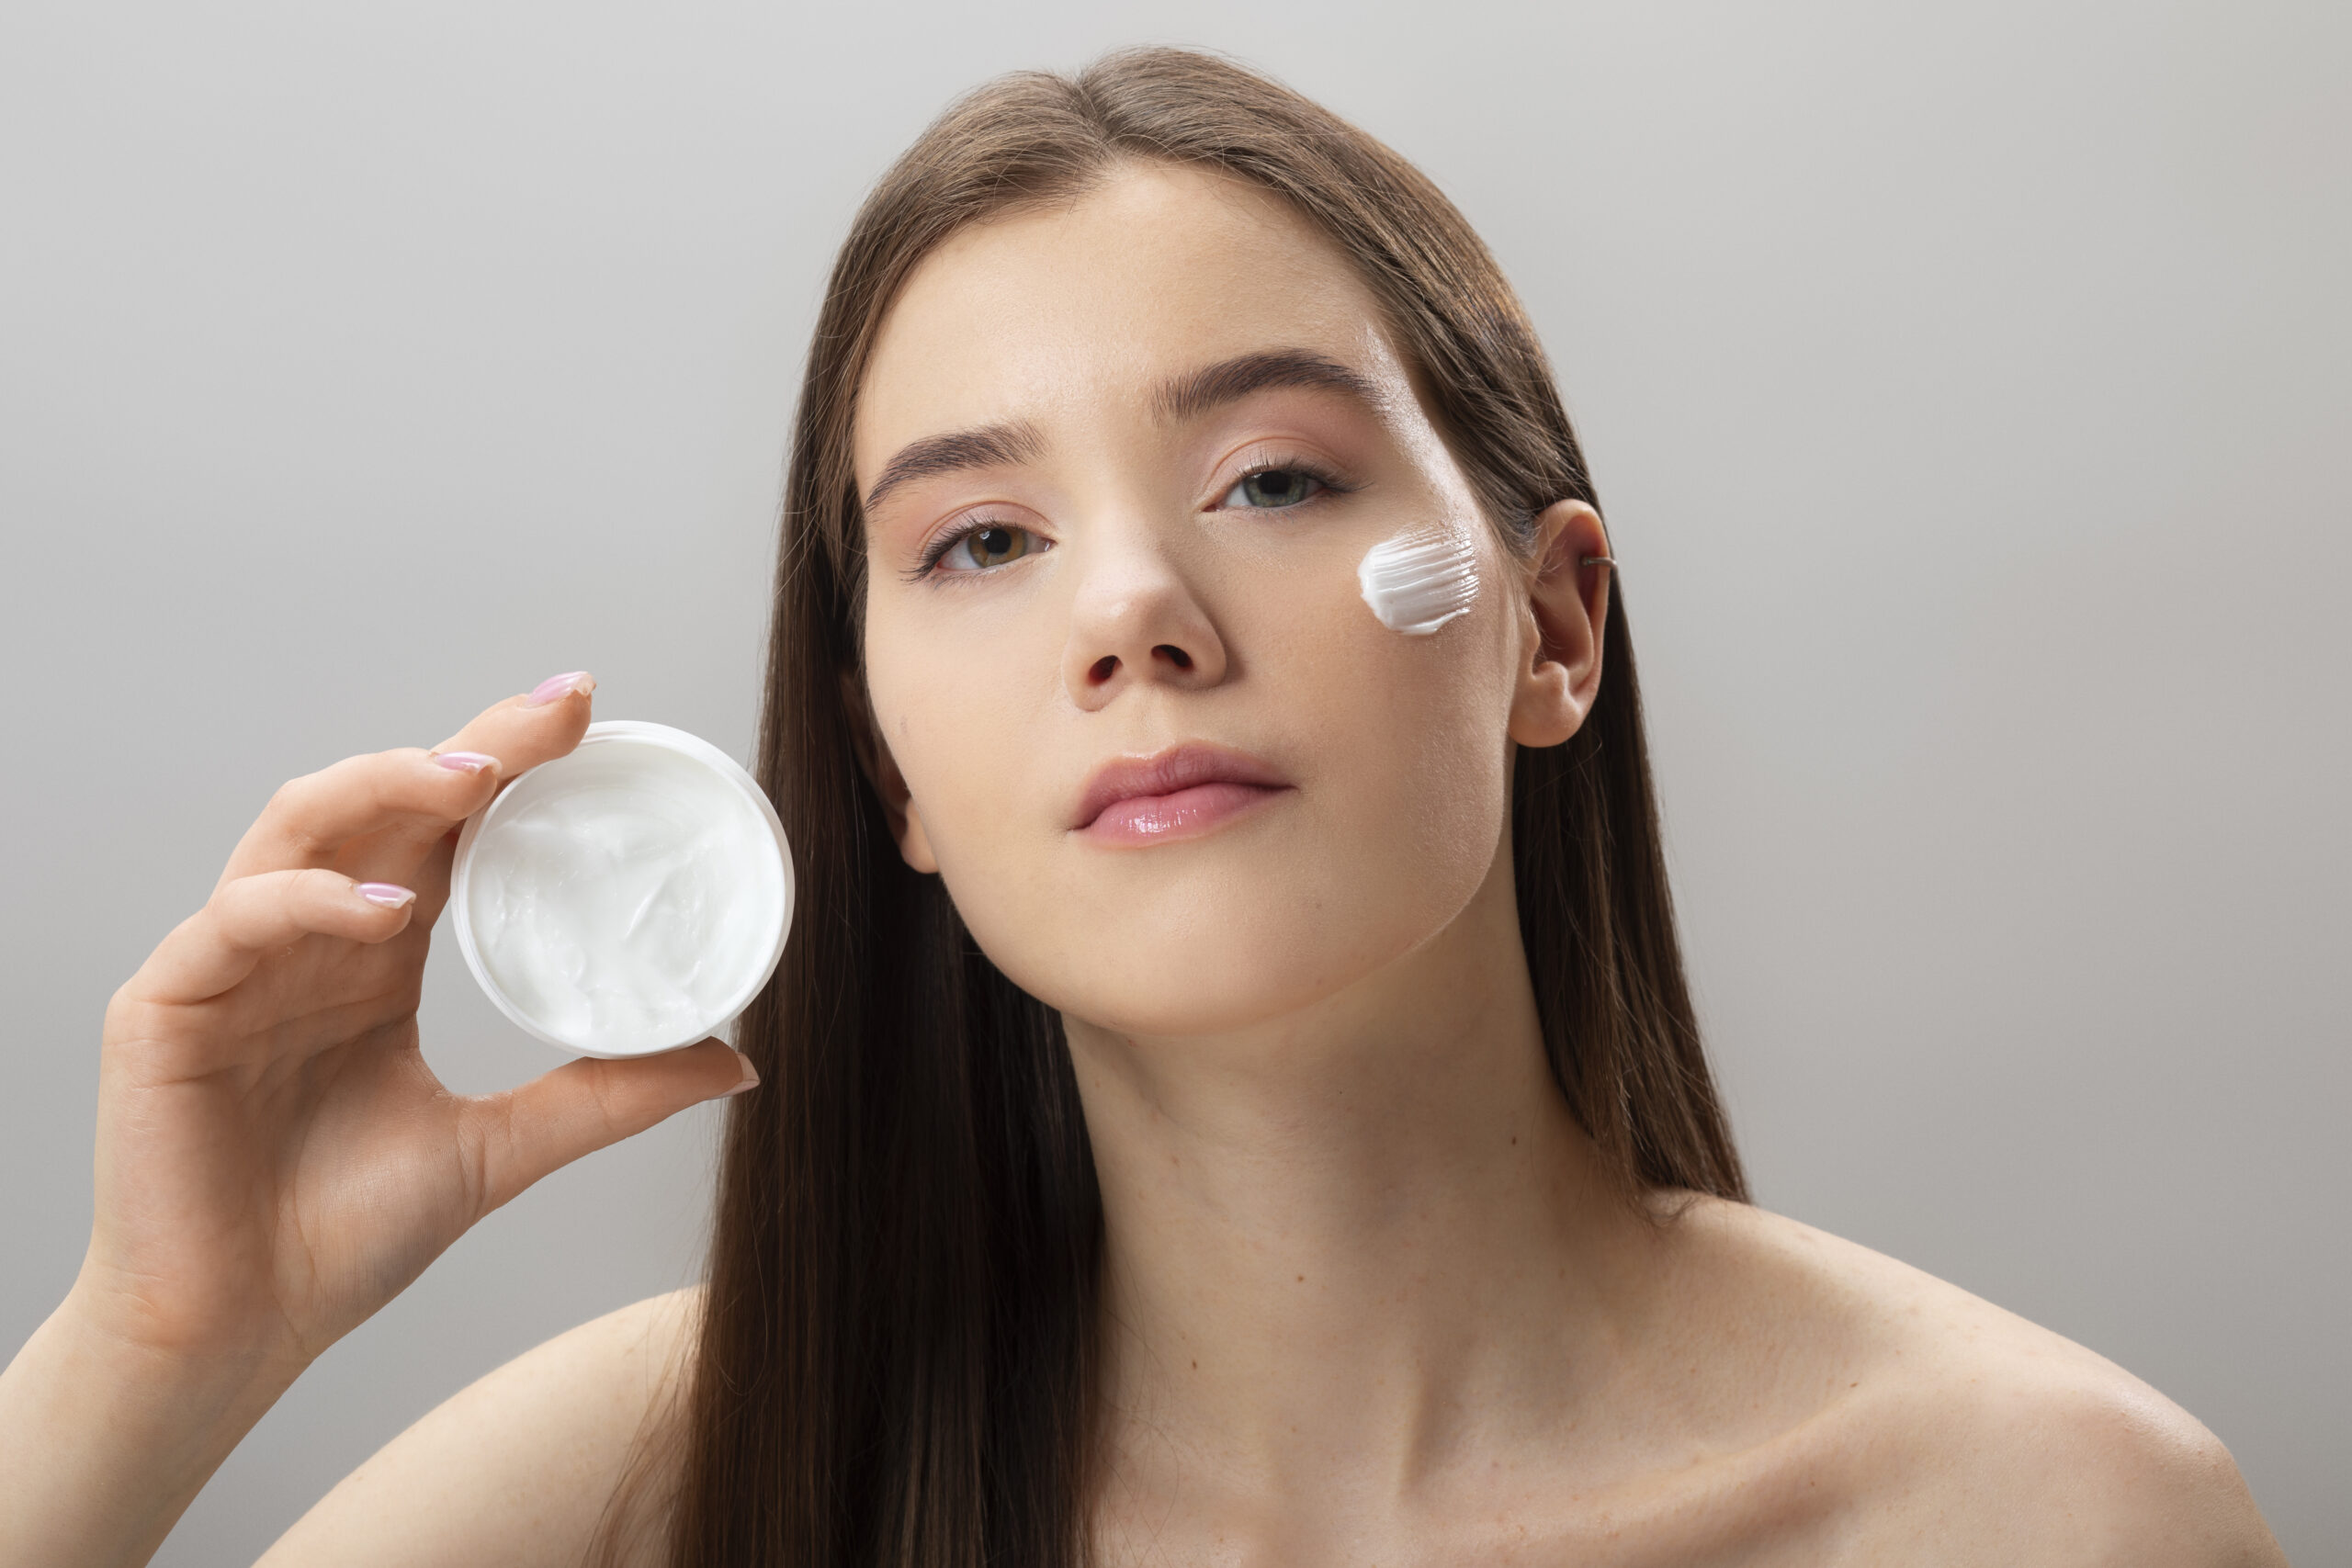
Apply DIY Night Cream
Use clean fingers or a spatula to apply a small amount of the cream. Gently massage into the skin using upward strokes.
Tips for Maximizing the Benefits of Your Overnight Cream Routine
Stay Consistent
Results from your DIY night cream for smooth, hydrated skin won’t happen overnight. Use it consistently over several weeks to notice improvement.
Adjust Based on Seasonal Needs
In colder months, you might need a richer blend. In warmer months, you might reduce the oil content or use the cream every other night.
Store Properly
Because this cream is homemade and doesn’t contain strong preservatives, it’s important to:
- Store in a cool, dry place.
- Use within 2–3 months.
- Always apply with clean hands to avoid contamination.
Benefits of a DIY Approach to Night Creams
Choosing a DIY method can be effective and budget-friendly if done correctly.
Ingredient Control
You avoid unnecessary fillers, fragrances, or allergens by choosing only what your skin needs.
Customization
You can adjust the formula to better suit your skin over time. For example, add more humectants for extra hydration or reduce oils if your skin becomes oilier in summer.
When to Stop Using a DIY Cream
If you experience irritation, breakouts, or unexpected changes in your skin, discontinue use. Introduce any new formula slowly, ideally patch testing it on a small area of skin for 24 hours before full application.
Summary:
Combining a thoughtful formula with a structured nighttime process can help support healthier, more hydrated skin. A DIY night cream for smooth, hydrated skin, when used consistently as part of your overnight cream routine, can help maintain balance and promote comfort without reliance on commercial products with unneeded additives.